
arrow_circle_down Designs
arrow_circle_down Subscribe
arrow_circle_down Dress-up Daisy Tips and Tricks
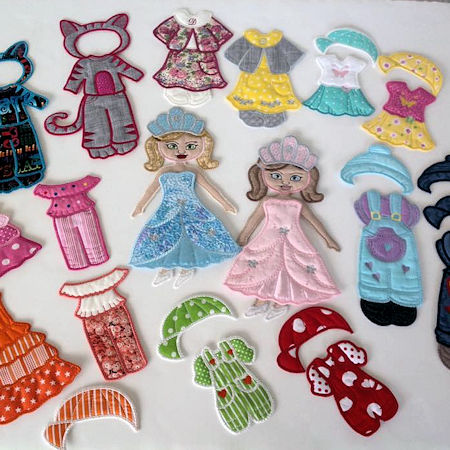
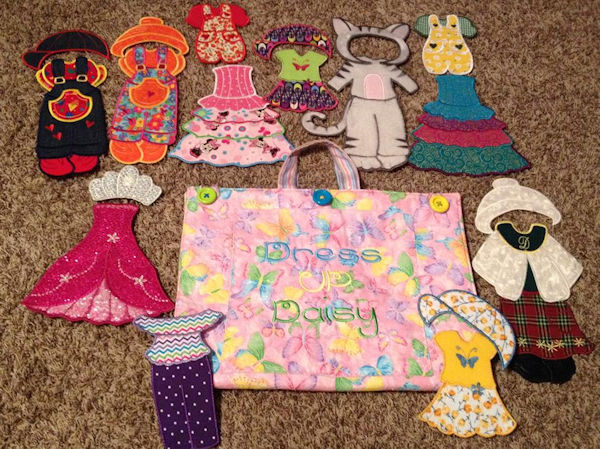
Dress Up Daisy is truly testament to our tag 'we create for you to make' - I created Daisy the same way I do all our Large Appliques, using water soluble stabiliser, and a front and back fabric. I had intended glueing velcro dots on the back of her clothes, but as I made each doll, my Girls played with her without any 'attaching', so I left her plain.
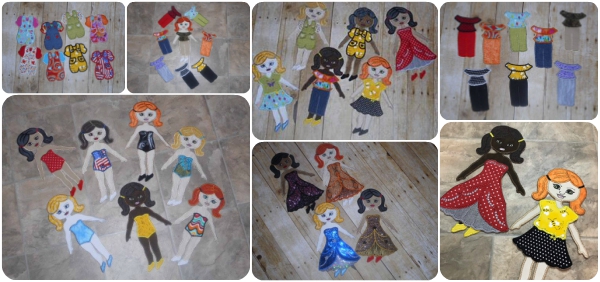
Since then, we have had so many talented Ladies create Daisy and shared their own tips on how they enhanced our design.
There is no right or wrong way to make Daisy, so please have a read of the different suggestions, and choose the method which suits you best!!.
The two queries we get the most about Daisy are:
- How do you attach the clothes to the Dolls?
- How do you strengthen Daisy?
Since creating Daisy in 2017, a heavier bag batting or heavy felt have become readily available. Adding the heavy felt or bag batting on the back of the Dolls definitely strenthens the Dolls, or you could use the tips below:
Our fantastic Admin Toni has written how she addresses both issues:
Daisy Doll Tips and Tricks
By Toni Olsen
I have made over Thirty (30) Daisy Dolls and numerous articles of clothing. This is what I personally find works best for me. I like the weight and stability this process creates.
- I hoop Medium weight stabilizer (I DO NOT use Water Soluble Stabiliser)
- I use Iron on stabilizer on all my main fabric pieces
- I DO NOT use batting---I substitute another piece of HEAVY TEAR AWAY
- I use BLACK OUT LINING on all my lining pieces. (It has a great weight and trims easily)
When I start my embroidery project my Hoop is stacked as follows top to bottom
- Main Fabric with iron on stabilizer
- Medium weight tear away stabilizer **HOOPED**
- Heavy weight stabilizer
- Black out lining
***NOTE: I use quilting spray and/or pins to hold all for fabrics in place.
Construct/embroider Daisy as per instructions for each item you are creating.
Once my DOLL is completed
Machine stitch a strip of Vecro HOOP (scratchy side) onto her stomach
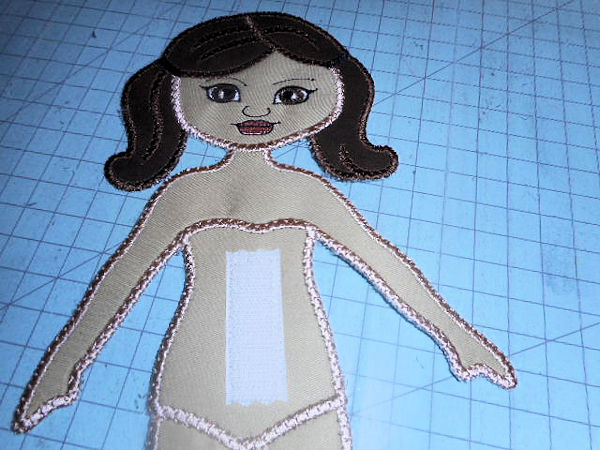
I also keep the skin fabric for the entire doll. You can create the Bathing Suit as a separate piece of clothing by simply stitching it ALONE (Skip the Arm stitch out).
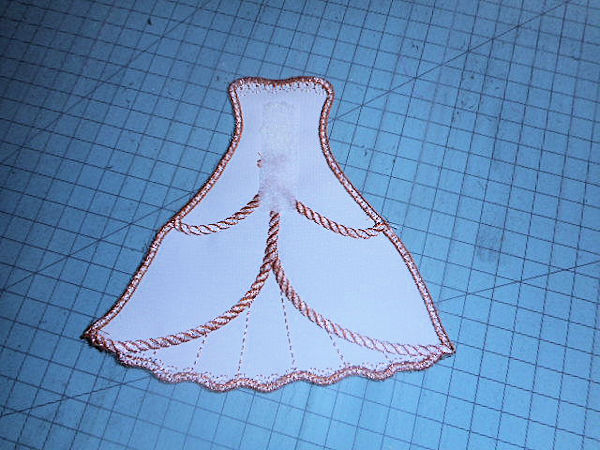
Hot glue a strip of Velcro LOOP (Soft Side) on the BACK SIDE of each article of clothing. I use a fabric hot glue for his. To make sure it lines up properly, I put the Velcro together, add the fabric glue, and then put the clothing where it should be on the doll and press. Immediately remove the clothing and Velcro LOOP
Hot glue a strip of Plastic Canvas to the back from her nose to her belly button area. This will give added stability to her head and neck as the little one play with her.

STRENGTHENING TIPS
Jenny Durey strengthens her Daisy as follows: "I put a strip of template plastic onto the back of her neck, and then back the whole doll with iron on peltex (used for bag making). I then zig zag around the entire edge of the Doll."
Denise Wood suggest using the stuff they make blinds out of in New Zealand (Holland Blinds) - its easy to sew thru, and can be added with the backing.
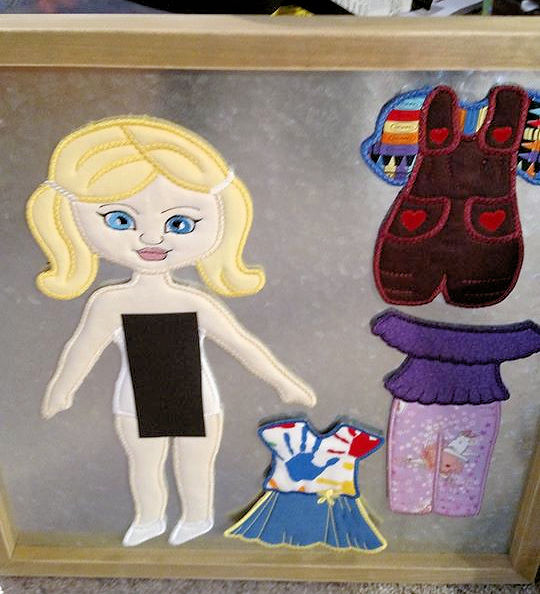
Karen Edmondson uses batting on the front AND BACK to give added strength
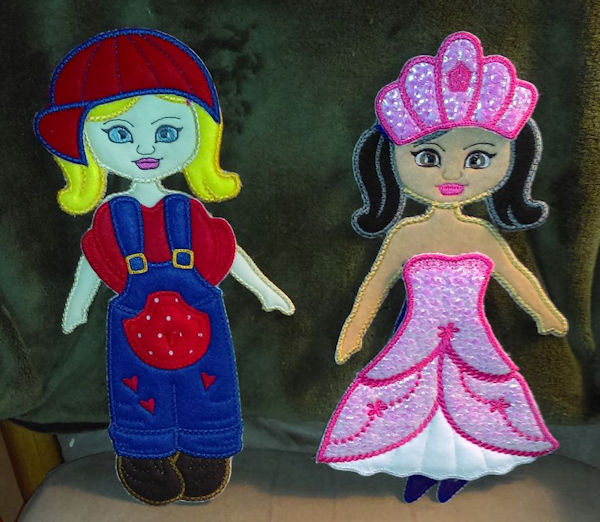
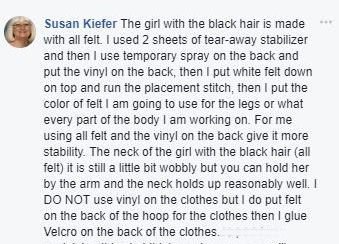
Susan Keifer uses vinyl as a backing for her dolls, together with felt as her fabric on both doll and dresses
Christine shares how she has strengthed her Daisy
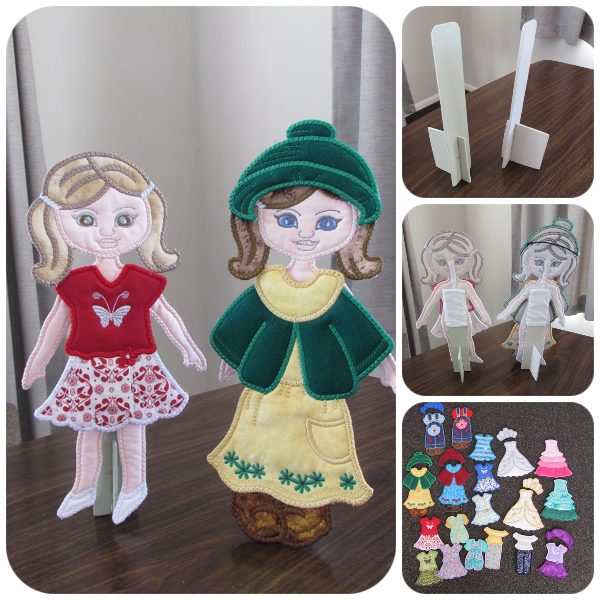
My Dress up Daisy dolls. I made them to be able to stand up -like the old-fashioned paper dolls! Used very thin pieces of particle board and made the stands. Put a piece of fabric on the back of the doll to slide the stand into. Made the heads firmer by stitching a sleeve and putting plastic boning inside. the clothes all hang on with velcro dots glued on about the bust-line of the dolls.The hats/tiaras I glued thin hat elastic in the back and this just slides on. You can see the back of the beanie on the back view of the dolls. Loved doing all this, hope my great-granddaughters enjoy playing with them!
ATTACHING TIPS
Most Ladies either leave Daisy plain, or attach velcro strips or dots as per Toni's instructions.
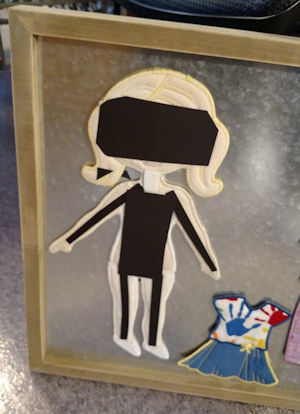
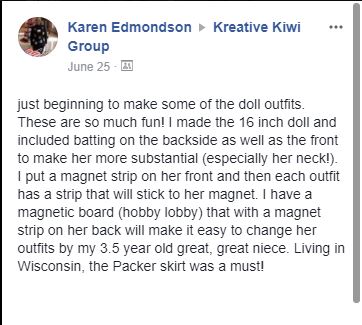
Karen Edmonson has a neat idea using magnets
 |
 |
|
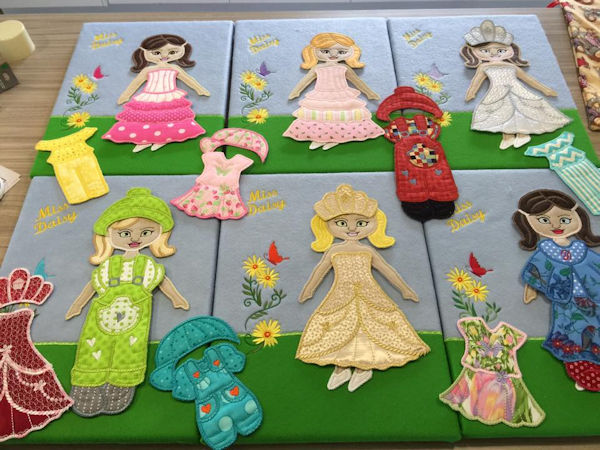
ADDITIONAL IDEAS FOR DAISYOur Amazing Darina creates scenes with blue and green felt, which she then attaches to a craft board - Light enough to carry easily
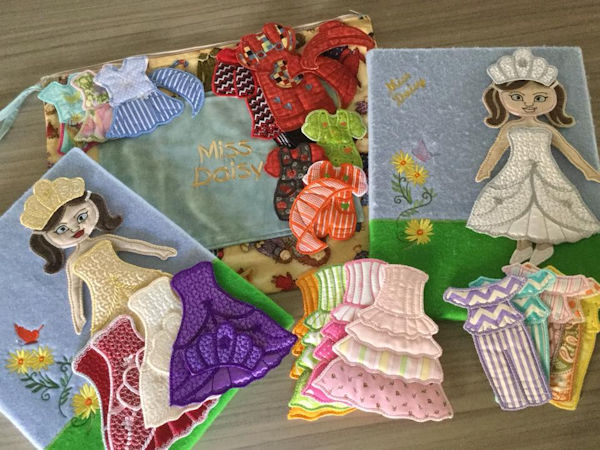
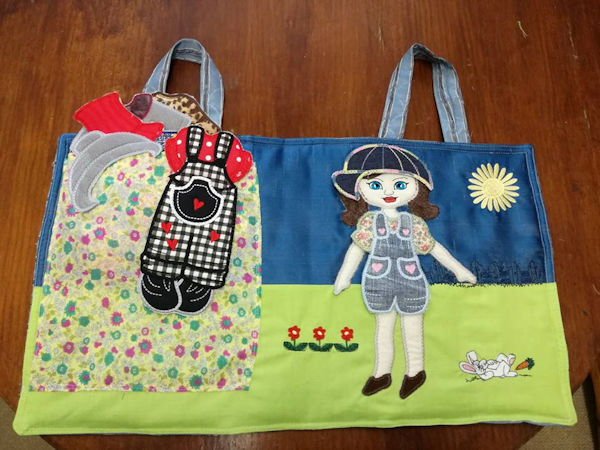
Darina has also whipped up a carry bag for her Daisy's
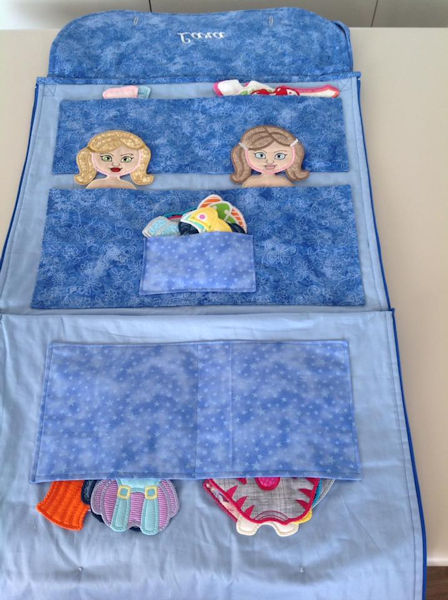
Hester also created a carry case
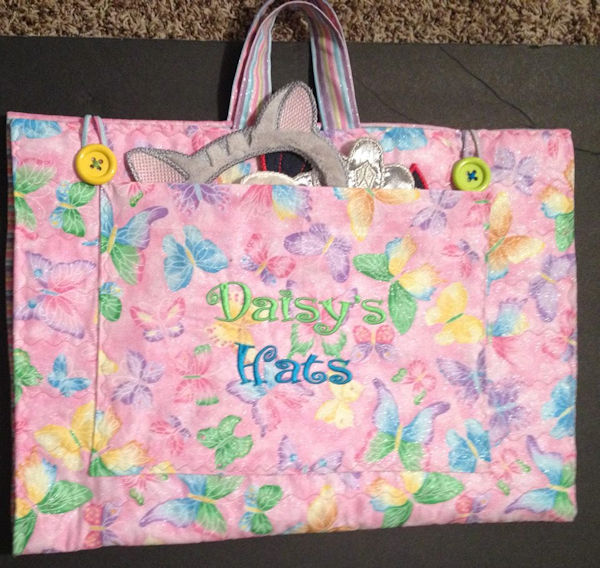
Nancy not only created a carry case, but also a pocket for her hats
|
|
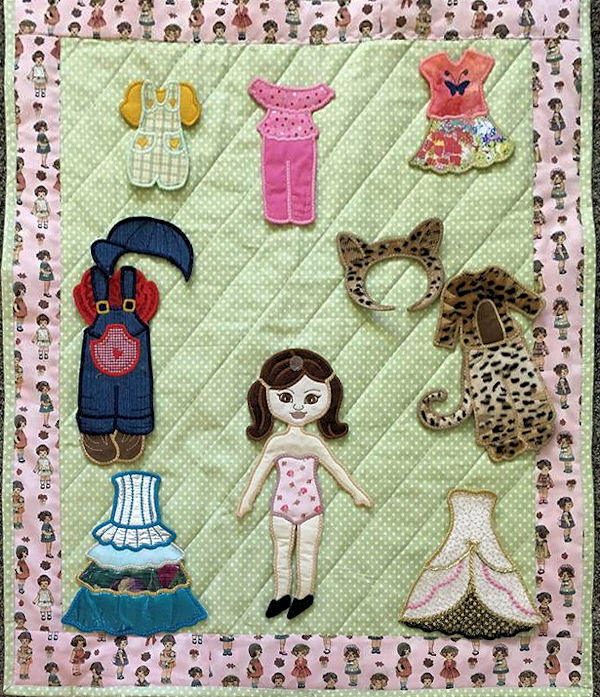
Leanna created this very cute mini-quilt, using velcro dots so the dresses can be changed.
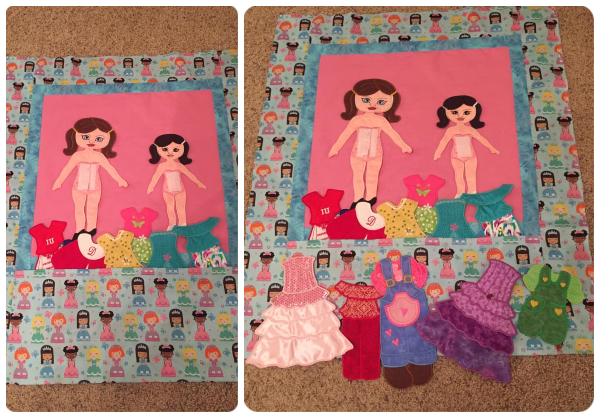
Katherine shared her gorgeous Daisy Quilt Idea - A Quilt Top, with a pocket in the bottom to place Daisy's clothes - Karen makes many Quilts for sick children- amazing Karen!
A huge THANKS to all the Ladies who so generously share their hints and tips - I hope these ideas help you choose how you want to make your own Dress Up Daisy.
CLICK TO VIEW DRESS UP DAISY DESIGN
| Top |