
arrow_circle_down Designs
arrow_circle_down Subscribe
arrow_circle_down How To: Add your own Lettering to our Embroidery Designs
This is a very general guide to adding your own lettering (or designs) to an Embroidery Design. There are so many different Embroidery Machines, and embroidery software programmes available, that we cannot offer a comprehensive method for each variation. For specific machines or software, you should consult your Manual.
Watch Kay's video showing how to add lettering
We cover two ways of adding lettering
- Using your Embroidery Machines In-built Lettering
- Using Editing Software on your computer before you send your design to your Machine
psst (I'm an editing girl, so I enlisted the wonderful Darina (KK Admin) for using your In-built Lettering)
Using your Embroidery Machines In-built Lettering
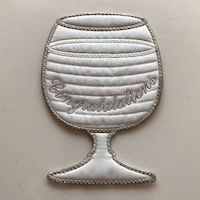
In this example, Darina has used our Free Wine Coaster
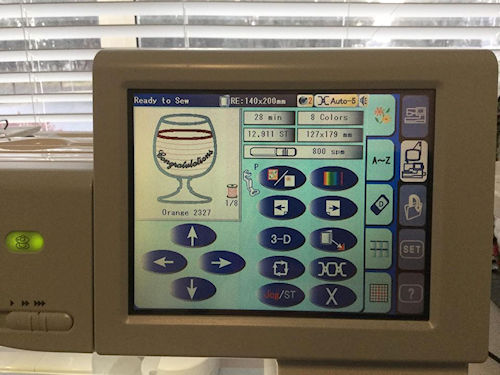
Load Design to your Machine
Enter Edit Mode
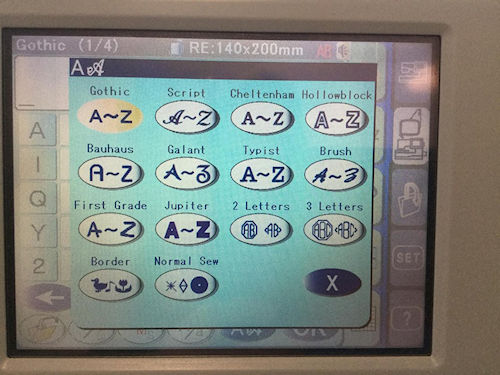
Choose Lettering Style
Add Lettering
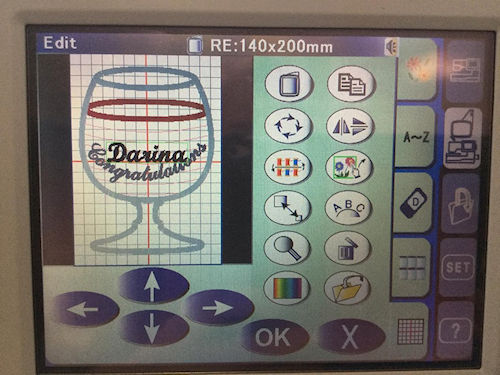
Play with your style and Position
Once you are happy, Save, and go back to Sewing Mode
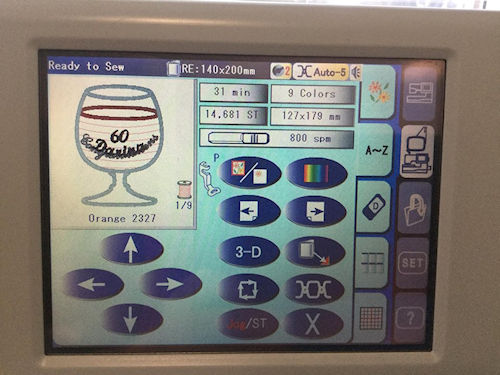
At this point, if you stitched the design exactly as is, you have the original Congratulations Lettering, plus your added Lettering will stitch at the very end, so you need to check your design instructions, and make sure you stitch your Lettering at the RIGHT time - before you Add the Backing.
You may be able to delete the original lettering while you are editing, but if not, simply skip that thread color.
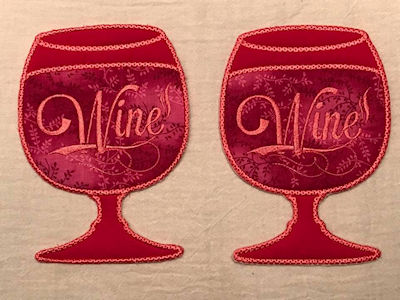
How gorgeous are these Wine Coasters
Stephanie deleted our lettering and aded her own design
For those of you with editing software, read on to see how we add/edit using Embird Software.
Once again, your editing programme will look different, but the same principles apply
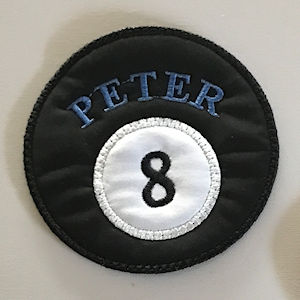
The Pool Ball Coaster used in this example is from our Freebie Sports Coaster set - If you are already a member, Log On and download from your Member Only Freebies, or Join us to get access
Inserting Text with editing software
This example shows you how to add lettering with Embird Editor software on your Computer before you send your Design to your Embroidery Machine.
Insert Text using an Embird Alphabet
Open Design in Embird Editor
Click on the Insert button (highighted on top menu)
Choose Insert Text
Choose your alphabet style and type in your text/name
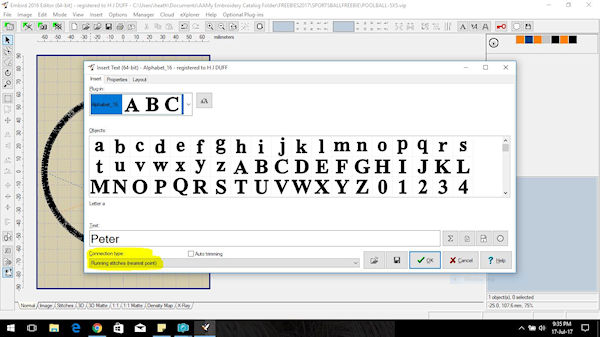
I leave the connection type as nearest point, which means the system will join the letters together at their closest point, and you will have no jump stitches. This is a personal preference.
From this screen you can have a play with the lettering - re-size, make the lettering curve - its truly just a matter of playing with the software to get what 'you' want. I want to curve the name in line with the edges, so I changed the Layout to Curve

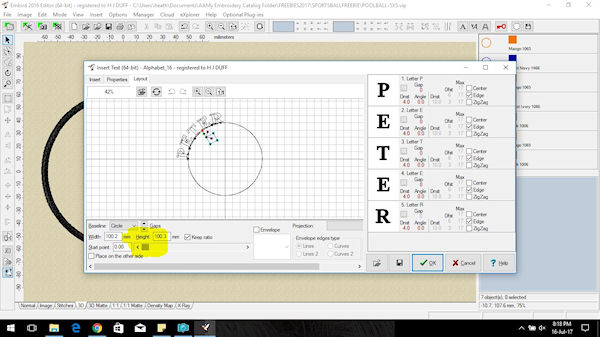
Slide the 'slider' at the bottom (highlighted) until you get the lettering placed as you like it
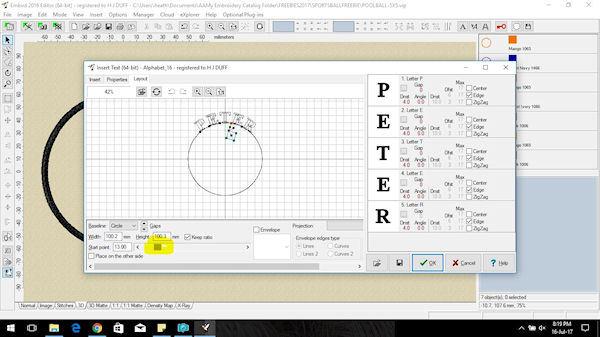
When you are happy, click the green tick bottom right to create
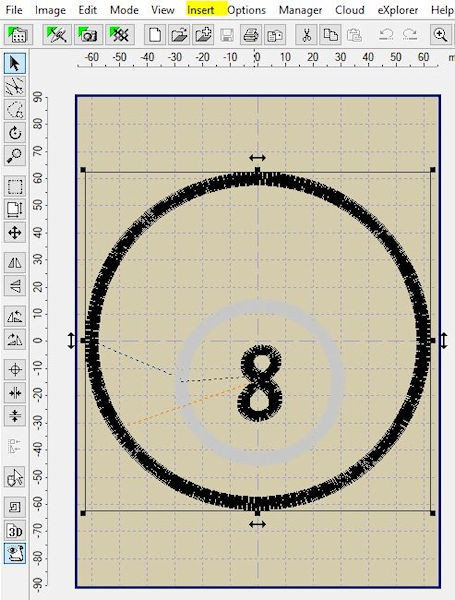
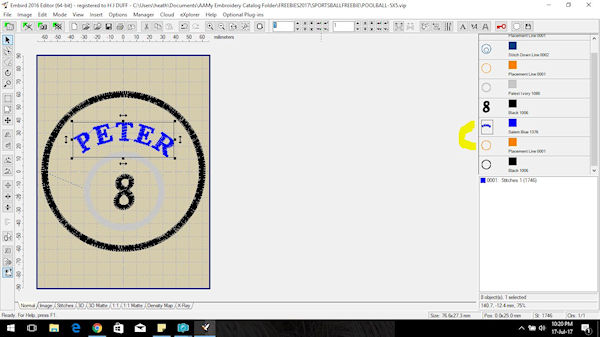
Embird will create the lettering and add it smack in the middle of your design.
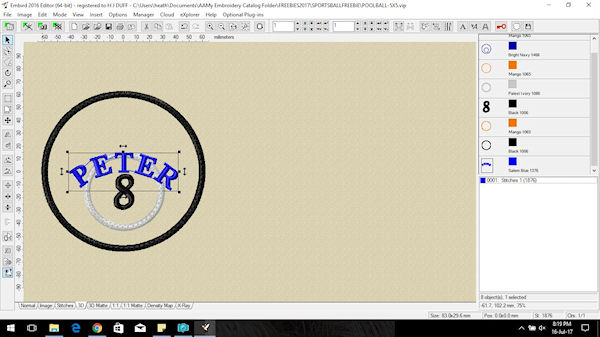
While it is highlighted, you can click on the lettering and re-size and move into position
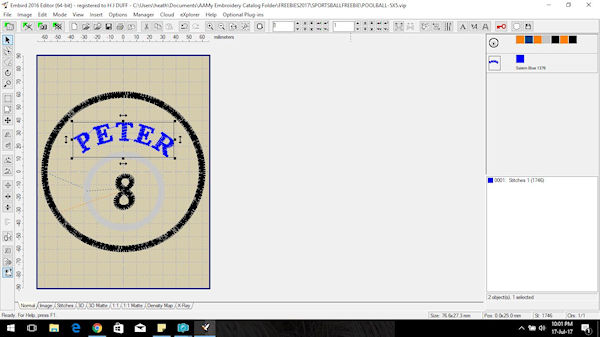
Now you have your name created and placed on your Coaster, but if you send it to your machine now, your name is going to stitch last.
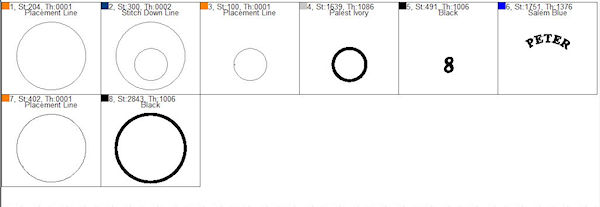
If we look at the original Stitch Sequence, together with the Design Instructions, we know that Color 6 is where we attach the Coaster Backing
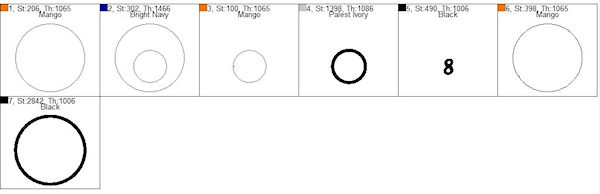
We need to add the Lettering before Color 6, so its time to look at the right hand side of the screen where we have our Colors
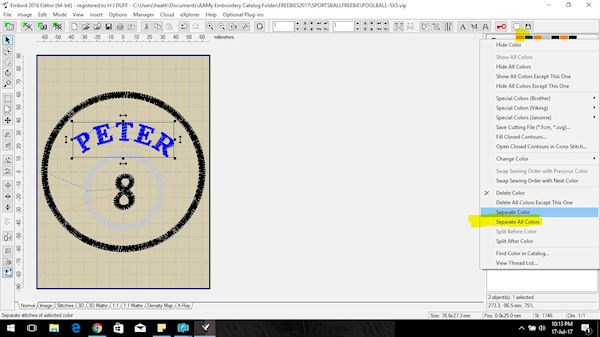
To separate all the Colors (stops) in the design, we can right click on the top 'box' and choose Separate all Colors
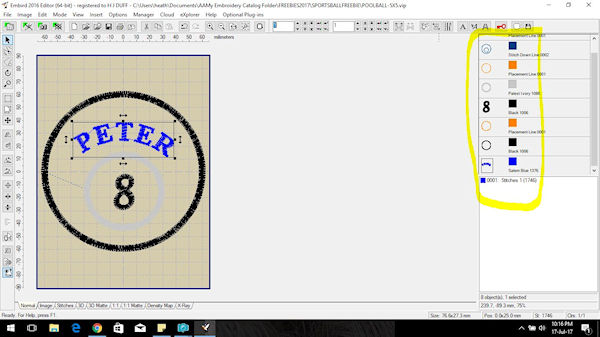
Now its just a matter of drag and drop your name (Blue) before the Orange Placement Line
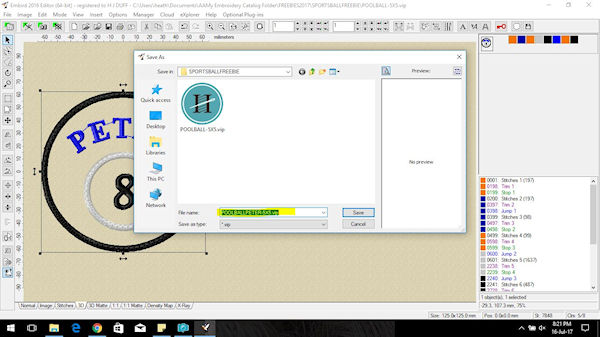
One last thing to do - FILE SAVE AS new name. Whenever you are editing or adding to a design, rather than just Saving, which over-writes the original design, choose File Save as, and give it a new name - that way you have both designs saved!
Now your stitch sequence looks like this - ready to stitch out
Kay shares how to add Text in her Free Baby Feet Video
Whatever software or editing programme you use, the key points to remember are:
- Sizing/placement of your lettering - make sure you choose a font or design that fits in your clear space
- Sequence of stitching - edit your design, so your lettering/design stitches in the correct sequence - for Coasters, before you add the backing
- Save As - Give your edited design a new name
- If you are new to this - test on a sample first
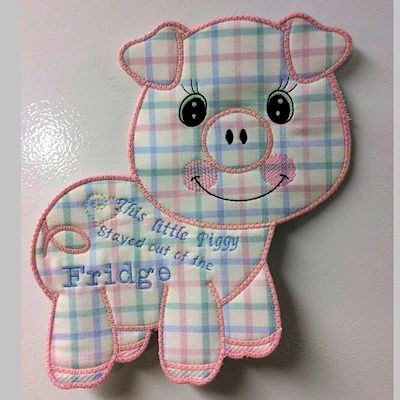
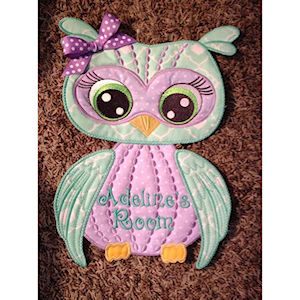
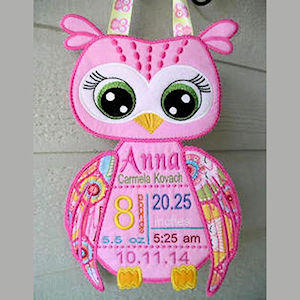
Not just confined to Coasters - how cute are these Large Owls Nancy and Debbie added their own lettering
 |
 |
If you are interested in editing software, there many to choose from. The important thing is to choose a software that you can get helpful tutorials or groups to aid with your learning. I started with Embird, and tutorials from Carolyn Keber at Secrets of Embroidery. You have a 30 Day trial - you can start with Embird Editor, then add on Studio which is a full digitising programme later- all at a relatively cheap price. (I am not afilliated to Embird - this is a personal recommendation)
If you have a different method of adding lettering, you are welcome to e-mail heather@kreativekiwiembroidery.co.nz and we can add your information to this blog.
We love seeing photos of your designs, so be sure to join our Kreative Kiwi Facebook Group where you can share and discuss your projects,
| Top |