
arrow_circle_down Designs
arrow_circle_down Subscribe
arrow_circle_down How to make a Quick Cuddly Fleece & Flannel Quilt
Our Quilt Queen Darina shows us how to make a this cute, cuddly 2 Day Quilt, using Fleece and Flannel.
(it might take slightly more time for us mere mortals)
Darina shares her instructions for her Motorbike Quilt. This technique can be used for any block size/layout you choose. Similarly you can adapt the technique to use cotton with iron on fusible fleece
MATERIALS
- Good Quality Fleece (see photos below)
- Flannel for Backing
- Parlane or Iron on Interfacing
- Cotton Fabric for Binding - (block joins, and outside Binding) - make your own or purchase
We haven't included fabric amounts, as this is a technique you could adapt for any size embroider/hoop size or Quilt you would like.
STABILISER
Use a Stabiliser appropriate to your embroidery design - with a good Quality Fleece, and simple Applique, you could just use a no-show mesh Stabiliser, and the Fleece. If your fabric is cotton/flannel/thinish, then it woud pay to add an iron on Interfacing or Parlane to the back of the fabric to add body, and a heavier stabiliser. As a guide, Darina added Parlane to the back of her fabrics, and No Show Mesh as the Stabilser
CUTTING GUIDE - GENERAL
Decide on the finished size you want the blocks to be, and add 1 inch
ie 12inch Blocks, Cut 13 inch Squares
Use the same approach for corners/borders - finished size plus 1 inch
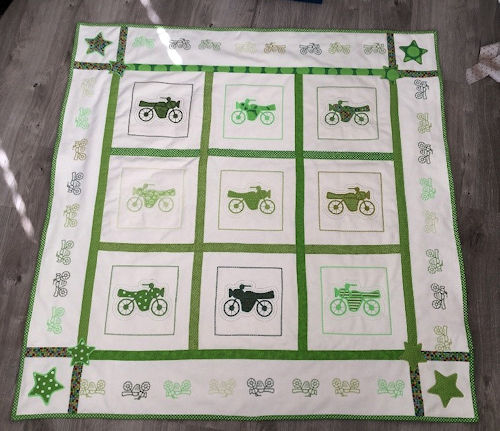
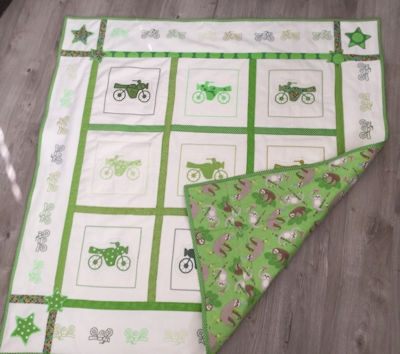
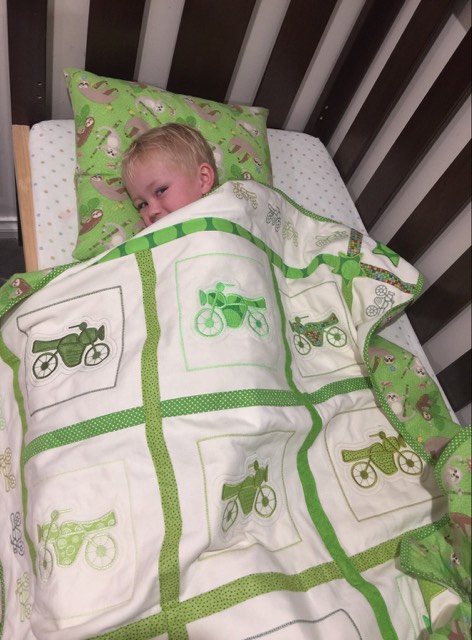
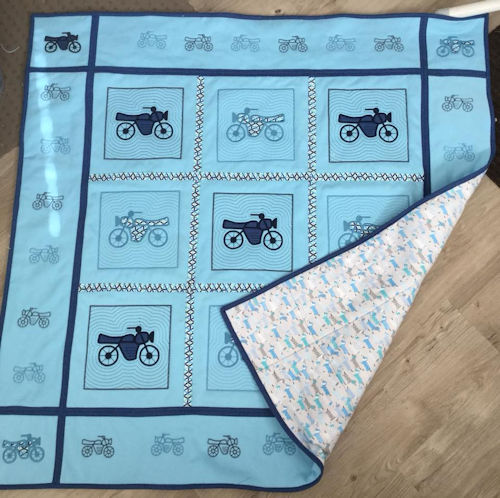
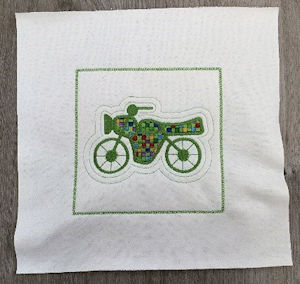
Darina's gorgeous Motorcycle Quilt was made with designs from Quilt Blocks for Boys
Main Blocks - Motorcycle
Corner Blocks - Applique Star
Borders - Small chain Motorcycle Blocks
Main Blocks were cut 13 inch square - trimmed down to 12 inch square after embroidery
Corner Blocks were cut to 7 inch square - trimmed down to 6 inch square after embroidery
Border Blocks were cut to 37 by 7 inch - trimmed down to 36 by 6 inch after embroidery
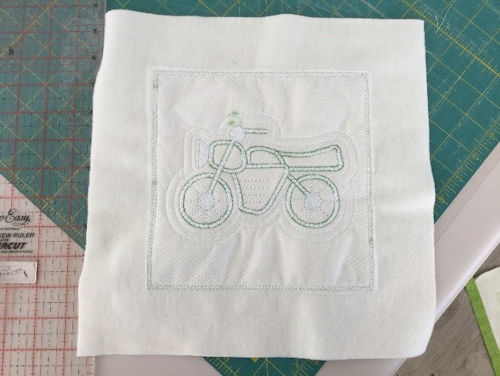
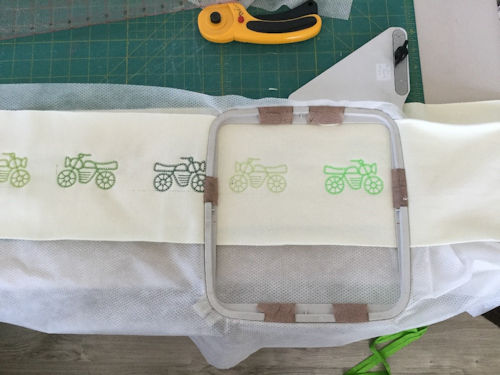
STEP ONE - EMBROIDER BLOCKS
Embroider chosen design
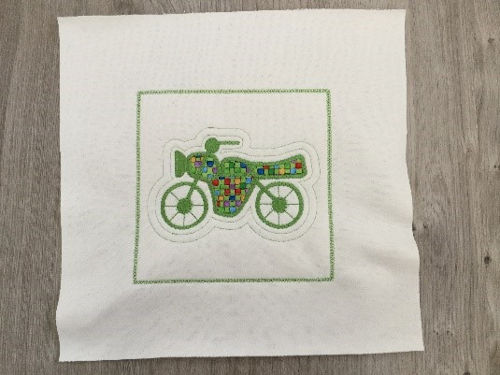
Cut down to required finished Block size
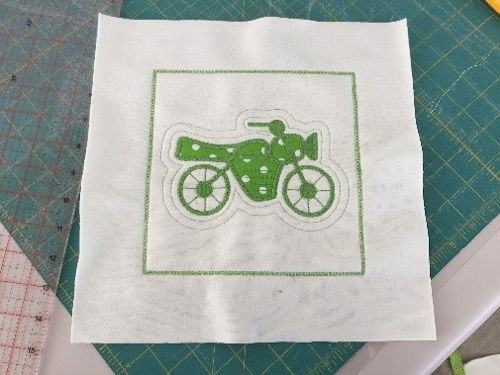
Back of Block showing trimmed Stabliser
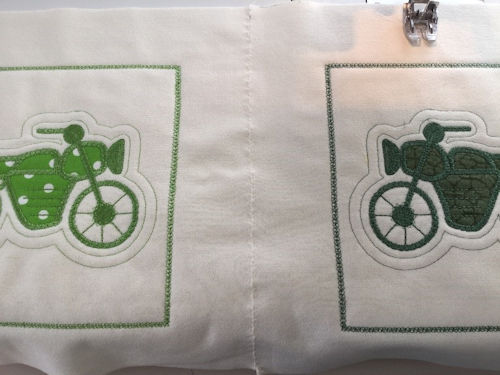
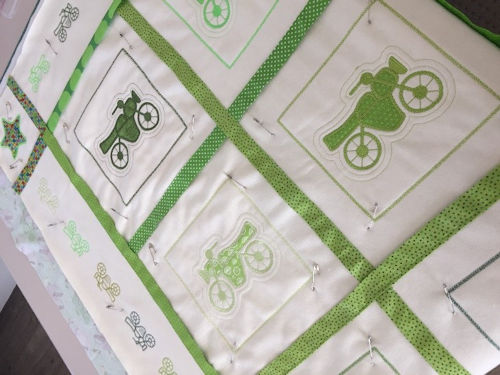
STEP TWO - CHOOSE LAYOUT
For the Bike Quilt, the Layout was simple - 3 rows of 3 blocks
(see below for other examples)
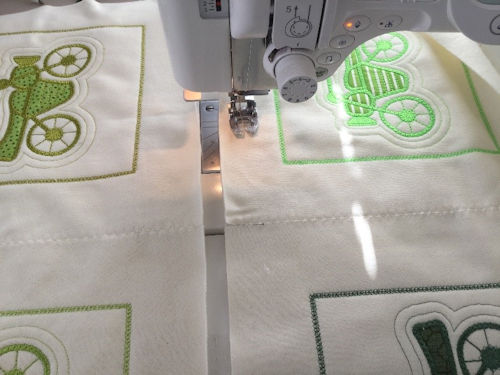
STEP THREE - JOINING
This is the fun part
Zig Zag your blocks together
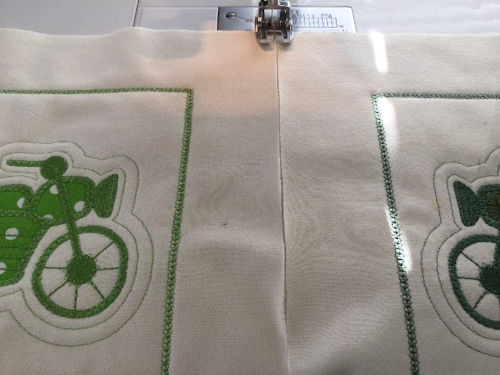
Darina used a 5mm Zig Zag Stitch

Join the blocks into rows, then join the rows
How simple is that!
STEP FOUR - BORDERS/CORNERS
For the Motorbike Quilt, Darina embroidered the small Chain Motorbikes and Applique Stars
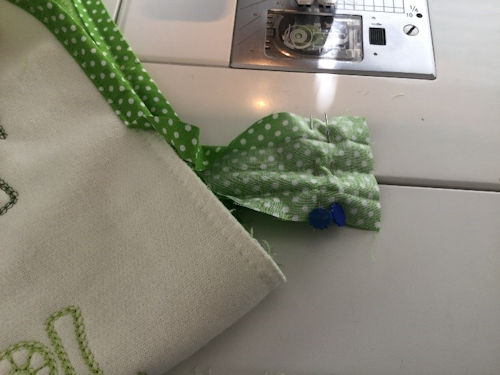
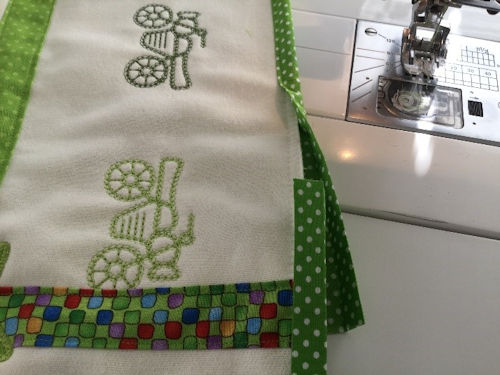
STEP FIVE - COVER JOINS
Use Bias Binding to cover your seams - Darina made 1.5 inch Bias Binding (Folded to 3/4 inch) in matching Fabric
You could use purchased Bias Binding, or Click her to see how to make your own
Pin, then stitch down both sides of the Binding
Complete inner blocks first, then Outer Blocks with slightly wide bias of 2 inch (Folded to 1 inch)

STEP SIX - ADD BACKING
Using quilt pins, Lay out the backing flannelette and quilt top and pin in every block corner, away from your stitching line
Stitch through the centre of your binding to attach your backing
STEP SEVEN - ZIG ZAG EDGES
Zig zag all the way around the outer edge using lots of normal sewing pins to secure and prevent stretching of fleece

(Easier to see in this photo)
STEP EIGHT - BIND QUILT EDGE
Again, click here to read how to add your binding, including mitred corners and seamless beginning and end
IT DOESN'T GET MUCH CUTER THAN THIS!!
VARIATIONS
 |
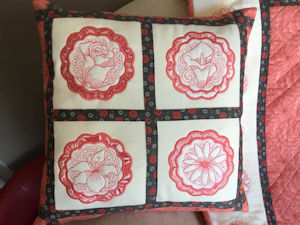 |
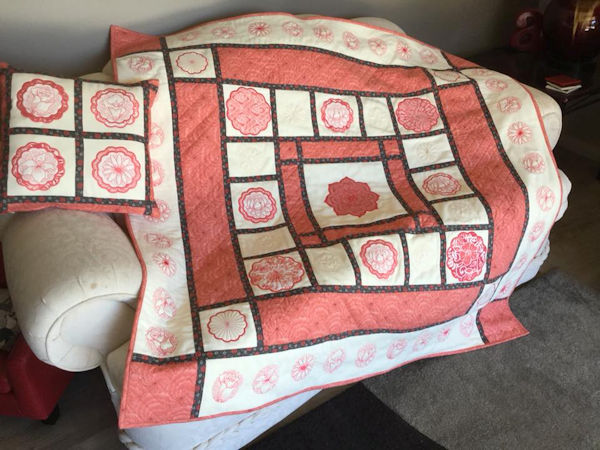
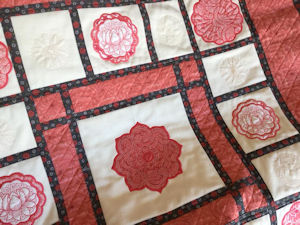
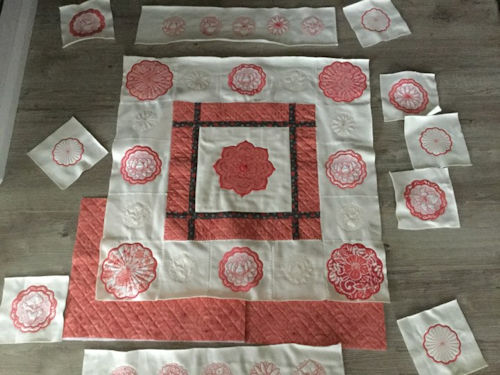
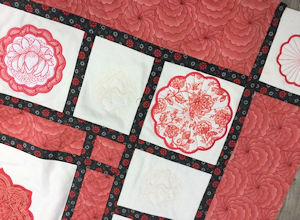
Darina's stunning Coral Quilt is made with the same technique
Designs used:
Large Mandala and Floral Coasters
The blocks use Fleece, while the Coral Borders are a cotton fabric with iron-on fusible batting/fleece (makes the blocks the same weight as the fleece)
Darina cross quilted the coral border blocks
Click here to read How to Cross-hatch Quilt
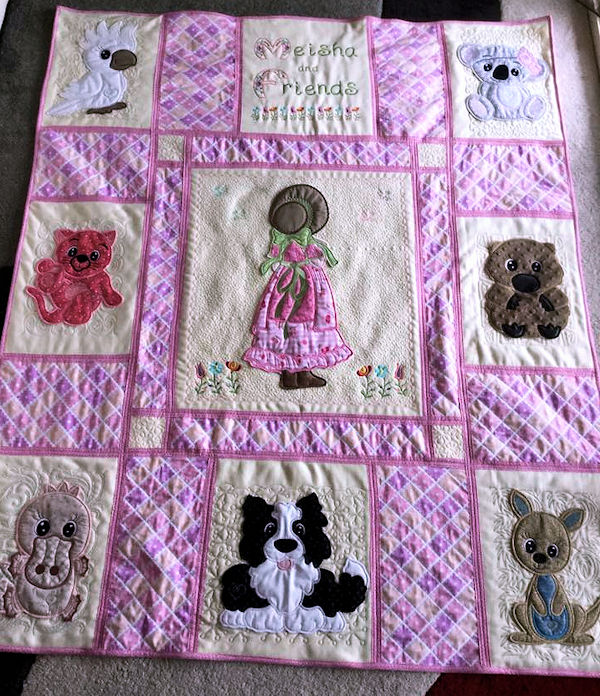
Another stunner from Darina using the same method
and Large Sunbonnet and Large Aussie Animals Designs
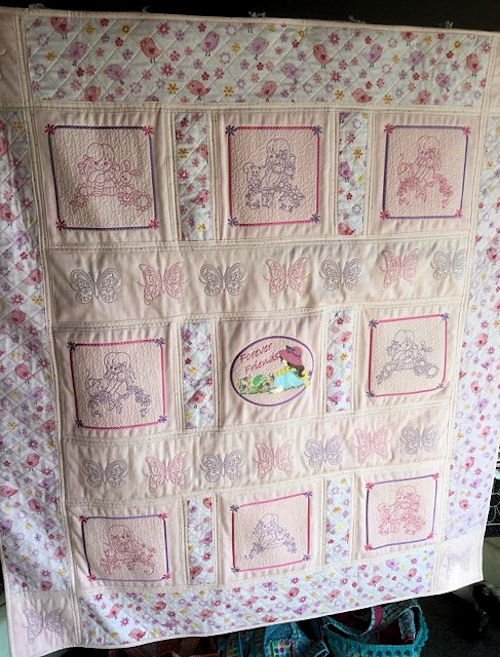
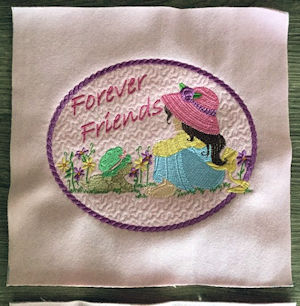
For this cutey, Darina used Designs from Gorgeous Girls, Denim Darlings and Butterflies Butterflies
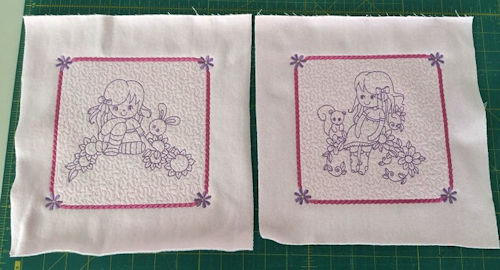
Applique designs work well with fleece, or as Darina shows, simple redwork designs that don't get 'lost' in the pile. Where Darina has used detailed fill embroidery, she has used the designs with applique frames, (included in design files) so you are actually embroidering on a cotton fabric on top of the fleecy pile.
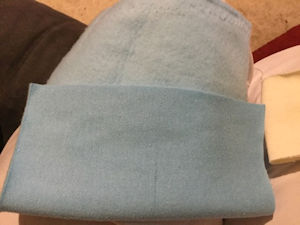
INFORMATION ON FLEECE
To keep with the super cuddly effect, Darina used a Good Quality Fleece (available from Spotlight Australia) One side is smooth, the other fleecy. This not only gives you the cuddly effect, it has enough 'body', not to need batting/wadding
 |
 |
|
 |
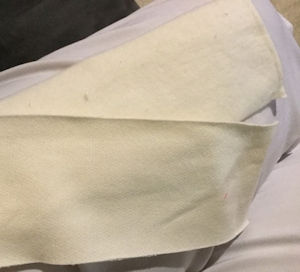
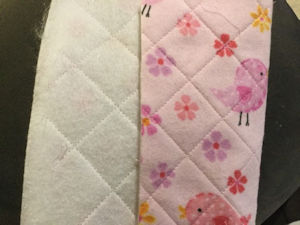
This technique is not limited to fleece, you can use any fabric you like - you could use a a cuddly flannel, or a 'normal' cotton fabric. You need to add a layer of iron on fusible batting to give the fabric enough body.
|
Flannel with iron on fusible fleece (shows front and back) |
Coral Fabric is Cotton with fusible Fleece |
CLICK HERE TO DOWNLOAD PRINTABLE VERSION
| Top |