arrow_circle_down Designs
arrow_circle_down Subscribe
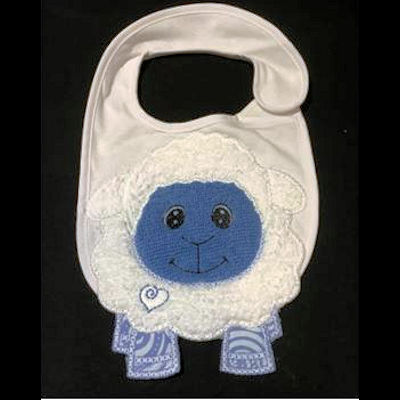
arrow_circle_down Design Ideas to embellish Baby Bibs
Instructions kindly shared by Faye Waller
This is such a fun way to use the appliqué animals, especially the sheep which will be the focus of this Blog. The bib is done completely in the hoop and will require two hoopings. For purpose of the Blog I used adhesive stabilizer, however I have also used cut away stabilizer and basting spray with equal success. The process is the same for both. I used the 5x7 applique, but choose yours according to the bib size you have.
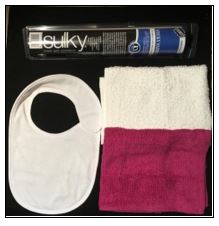
MATERIALS
|
|
- Before starting on the bib complete the body of the sheep (1SHEEP) as per Heather’s instructions.
- Use File named BONUSBIB(hoopsize) for the Sheep Head
- Pellon is not used on the bib as the towelling is sufficiently thick.
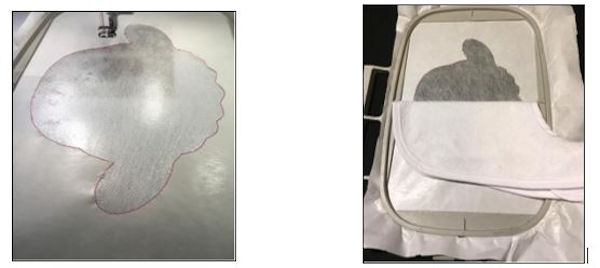
STEP ONE - Preparation
- Hoop Your stabilizer with the PAPER side up
- Stitch the outline of the sheep – Color 1
- Remove hoop and carefully tear away the paper from INSIDE of the stitching line to expose the sticky surface
- Place the hoop on a flat surface
- Take your bib and fold in half to find the centre line
- Carefully align the centre of the bib with the centre markings on the hoop Press down firmly. Unfold bib and press the other side down firmly
If you are using cut away stabilizer and basting spray the steps are essentially the same.
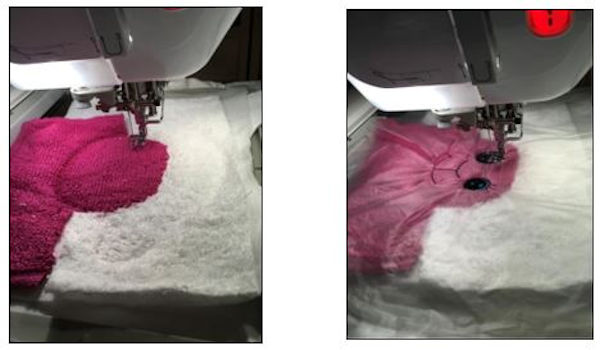
STEP TWO - Stitching
- Place the hoop back into the machine and continue to stitch the design
- Color 2 attaches the Bib, and stitches fabric guideline
- Color 3 attaches Face fabric
- Color 4 attaches Fleece Fabric
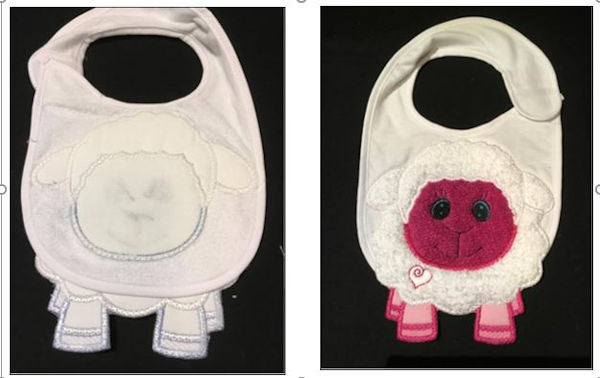
- Float Water Soluble Topping over the design and stitch out the facial features
- Color 5 White of eyes
- Color 6 Black Eyes and Nose
STEP THREE - Adding the backing
- Place your backing fabric under the hoop either taping it in place or floating it
- Stitch Color 7 which stitches the outline which will attach the backing fabric
- Remove hoop from machine and trim the top and backing fabrics. Leave the topping on at this stage as it will help give definition to the satin stitch
- Stitch Color 8 which completes the zigzag
STEP FOUR - Attaching the body
- Continue with the steps as per the design, attaching the body to the head Color 9 joins the Body to the head
- At this point ensure that the bottom of the bib is lying flat and won’t get caught up in the stitching
- Continue stitching Color 10 Face Satin Stitch and Color 11 Fleece Satin Stitch
- Remove from hoop and trim stabilizers
- Design is now complete. Gorgeous!!
HINT
If you are going to make more than one bib, I suggest that you leave the bib in the hoop and carefully cut the head out from the stabilizer. You will then have a perfect template for the next one.
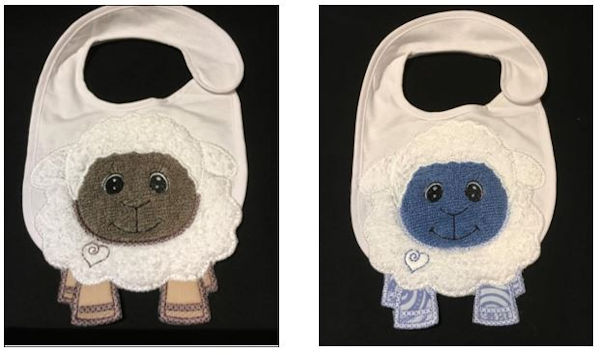
Faye used the Large Sheep design from our Large Farm Animal Collection
You could use just about any of our Large Animal Designs
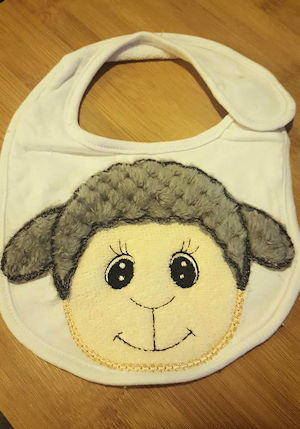
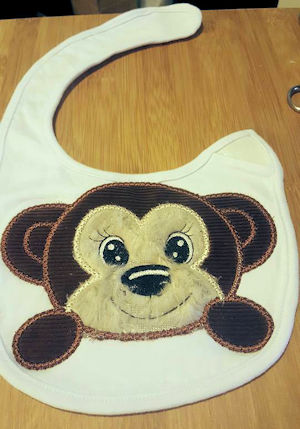
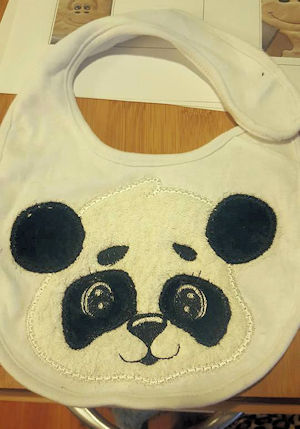
Susanne has used the head only for her cute Bibs
|
|
|
|
|
|

Download Printable version (PDF)
| Top |