
arrow_circle_down Designs
arrow_circle_down Subscribe
arrow_circle_down How to Quilt a Reading Pillow Pocket
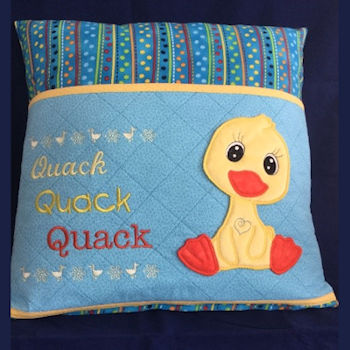
HOW TO QUILT A READING PILLOW POCKET
By our awesome Darina
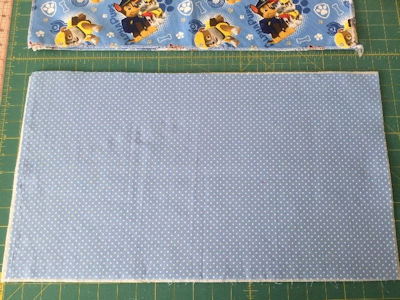
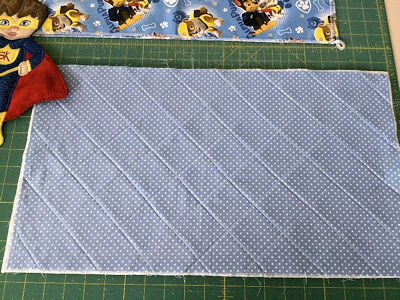
Step OnePress fusible fleece to the back of your fabric |
 |
|
|
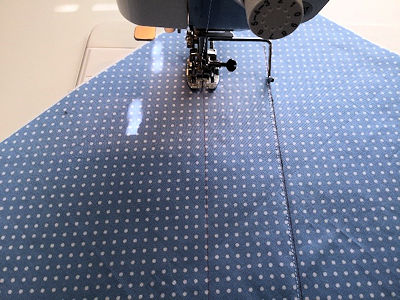
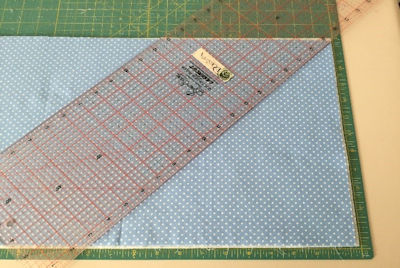
Step TwoPlace your ruler the same distance in from the right as the height of your pocket. For Example if it is 12” high then come in 12” from the right and draw your first line. Draw a second line 2” away or desired width. |
Step ThreeTurn your ruler and line up your first two lines with the lines on the ruler. Draw the third line at any position so long as the previous lines meet up. |
 |
|
|
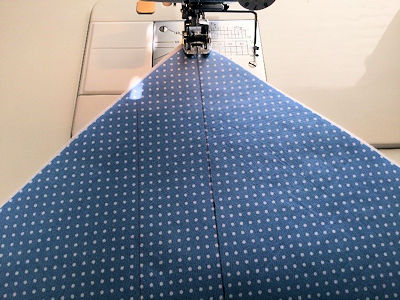
Step FourStitch your first row on a stitch length stitch of 3. Attach your quilting arm. |
Step FiveLine your quilting arm with your first row of stitching whilst dropping your needle in the beginning of your second row. Important to watch your quilting arm, not the needle to maintain accurate sewing. |
 |
|
|
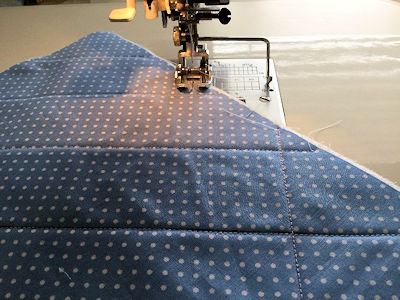
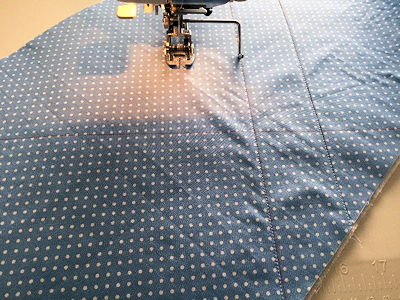
Step SixContinue across until all that direction is done. You will then need to rotate your work and complete all your rows of sewing in the one direction |
Step SevenNow stitch your one marked line for the other direction. Your quilting arm is already set in place so just continue until all lines are completed |
 |
|
|
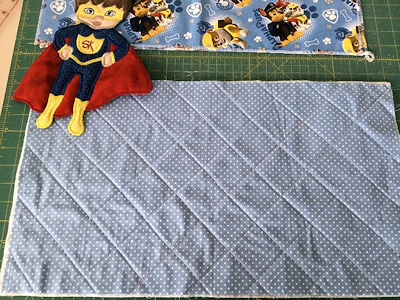
Step EightThis is how it looks when your stitching is finished, now press it once again. |
|
Now how awesome does that look. You can now go ahead and hoop up for wording or designs. I add a No Show Mesh and hoop all together. Happy Sewing Ladies x |
 |
Note from Heather
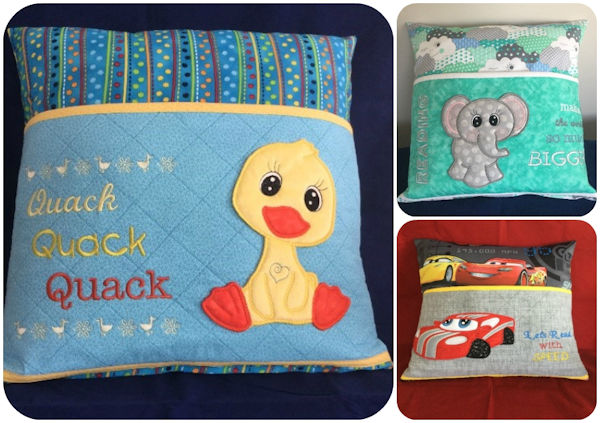
Thanks so much again Darina - I hope you enjoy seeing all the beautiful Reading Pillows that have been made with your Tutorial. You have truly inspired many!!
| Top |