
arrow_circle_down Designs
arrow_circle_down Subscribe
arrow_circle_down How to make a Scissor Holder
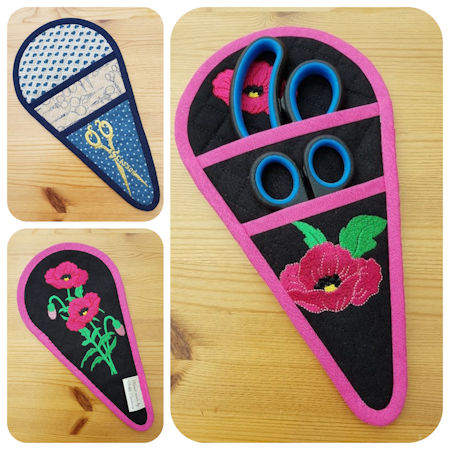
Blog Post by Cathy - Picklecreations
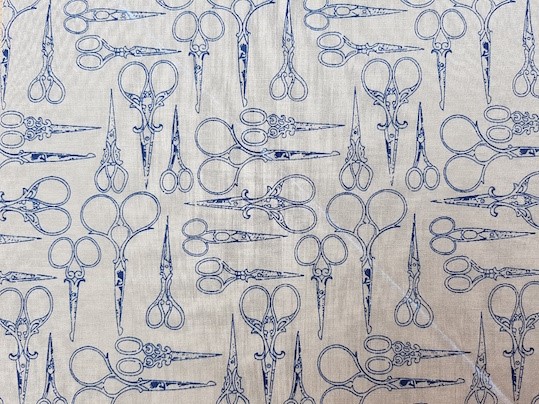
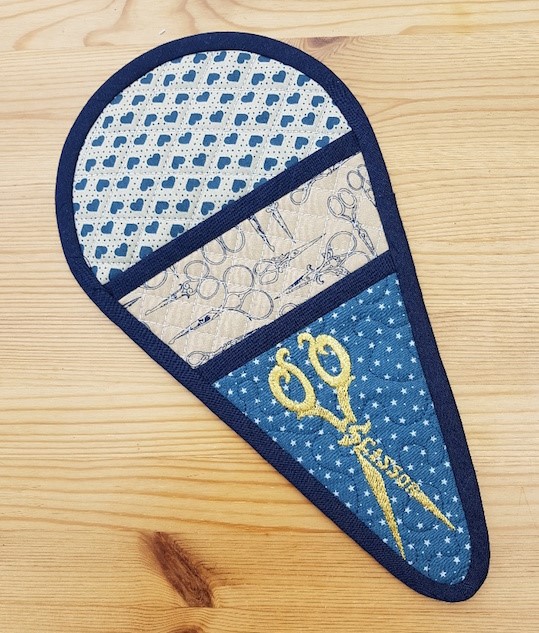
A good project for a beginner, but also a very practical project for protecting your scissors. Note that back panel is ¾” cross hatched quilting, middle panel is ½” cross hatched quilting and the front panel uses the Kreative Kiwi scissor embroidery and stippling designs.
Cutting List
|
Number Required |
Dimensions |
Material |
Comments |
|
2 |
8” x 12” |
Cotton |
Back panel – Front and Back of quilted panel. |
|
2 |
6½” x 8” |
Cotton |
Middle panel - Front and Back of quilted panel. |
|
2 |
6” x 7” |
Cotton |
front panel - Front and Back of quilted panel. |
|
1 |
8” x 12” |
Wadding, or, 3mm bag foam |
Wadding for back panel |
|
1 |
6½” x 8” |
Wadding, or, 3mm bag foam |
Wadding for middle panel |
|
1 |
6” x 7” |
Wadding, or, 3mm bag foam |
Wadding for front panel |
|
|
Circa 42” |
Bias binding |
Shop bought, as works better than home made, if going around curves. |
To further enhance this project, you can additionally add an appliqué embroidery design of your choice.
Kreative Kiwi Designs used:
Sewing Silhouette Freebie and Stippling Freebie (Log In, or Sign up)
Template
The template for cutting the panels is on page 27, of these instructions. I have included rough dimensions on the template so you can check when you have printed it, if it is circa the right size, as some printers may print larger or smaller depending on default settings.
STEP 1 – Cutting Out Back Panel
|
|
|
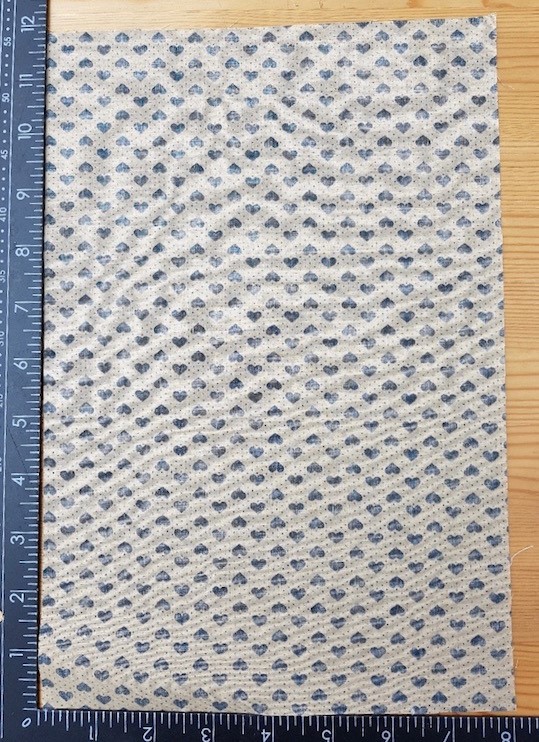
Cut the 2 pieces of cotton fabric, that will be used to make the back panel. Each piece is 8” x 12”. In addition you will also need some wadding to make the sandwich. Although in this make I used wadding, 3mm bag foam (or similar) would also work well. This piece of wadding / foam will also be 8” x 12”. |
|
|
|
Create the back panel sandwich with cotton fabric back, right side down, then the wadding / bag foam, then the the front of the panel, right side up. Pin in place. |
|
|
|
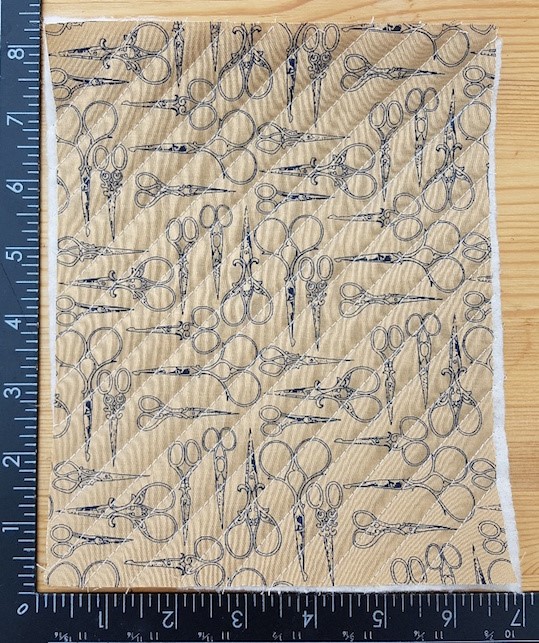
I was lucky with the pattern of the fabric, as I was able to sew along the dots in the fabric, to create a 3/4” cross hatch. If you are not so fortunate then you can mark the diagonal cross hatch pattern using tailors chalk. I show this is more detail when constructing the middle panel with ½” cross hatching later on in these instructions. |
|
|
|
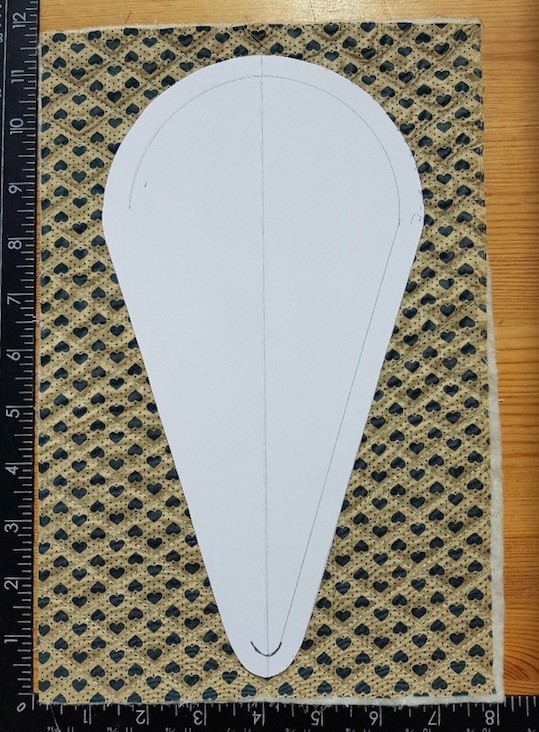
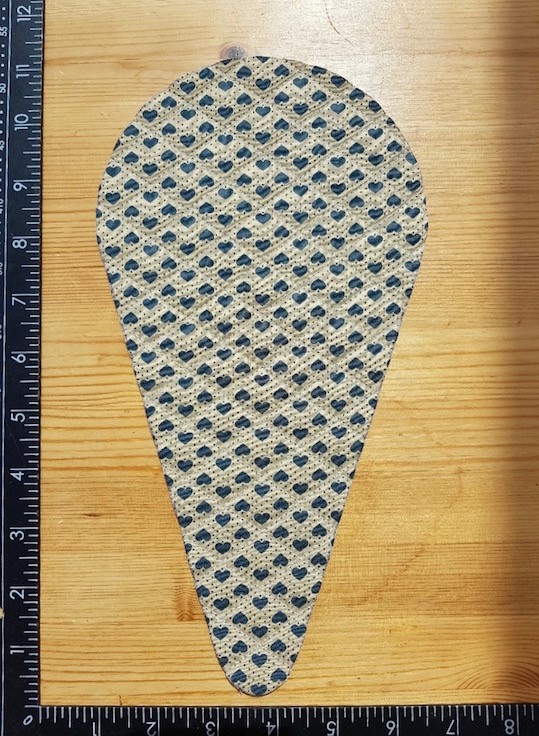
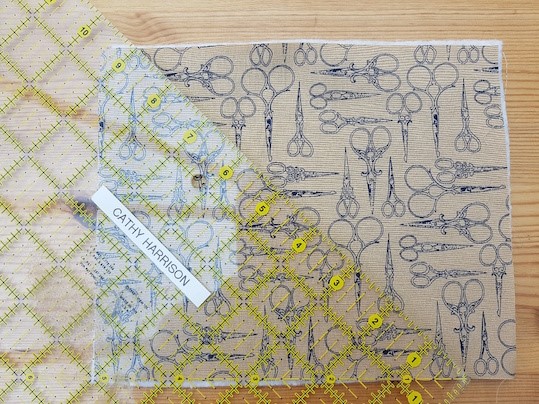
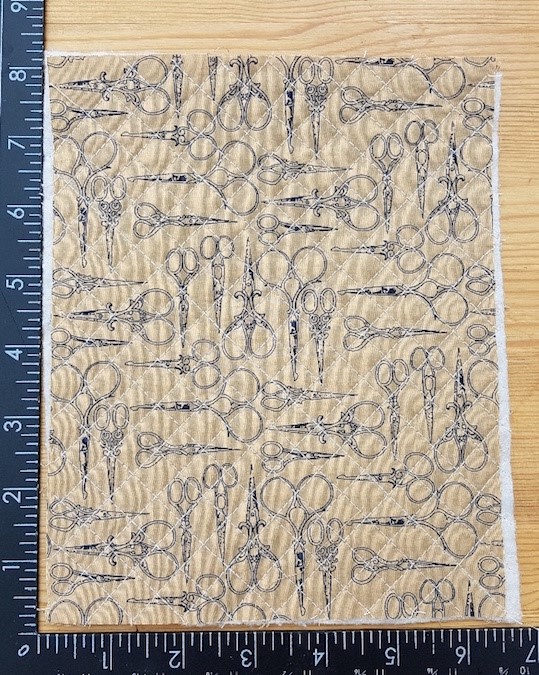
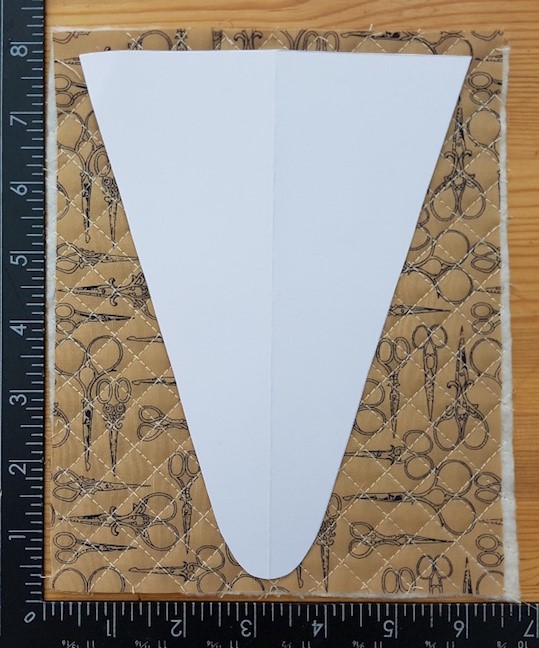
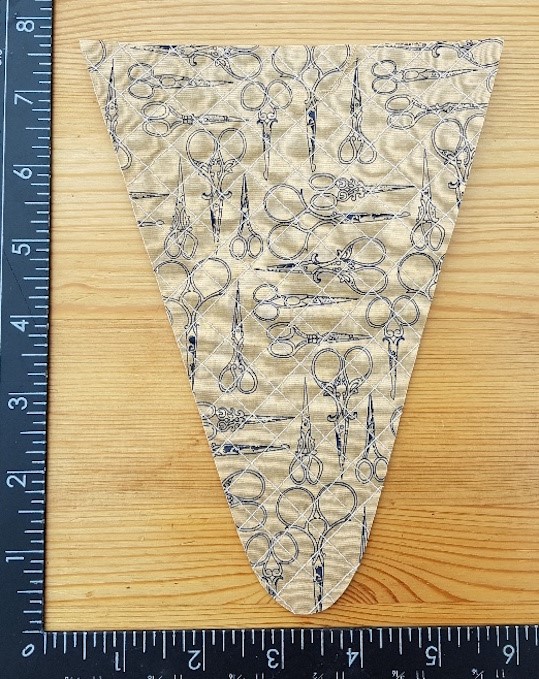
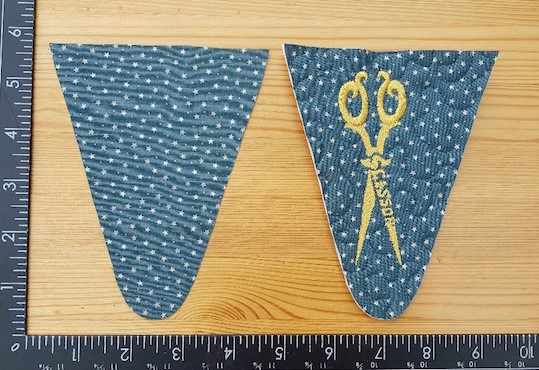
Having quilted the back panel, you can cut to size using the attached template, on page 27 (green, yellow and red). |
|
|
|
The above picture shows the quilted back panel, cut to size. |
STEP 2 – Cutting Out Middle Panel
|
|
|
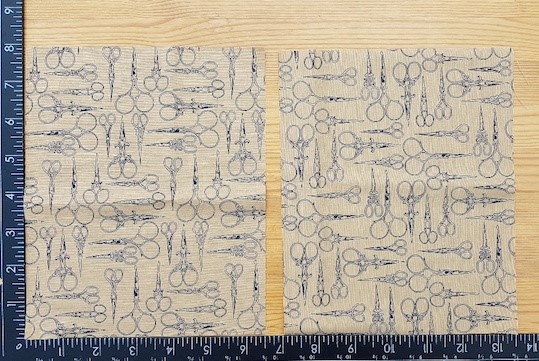
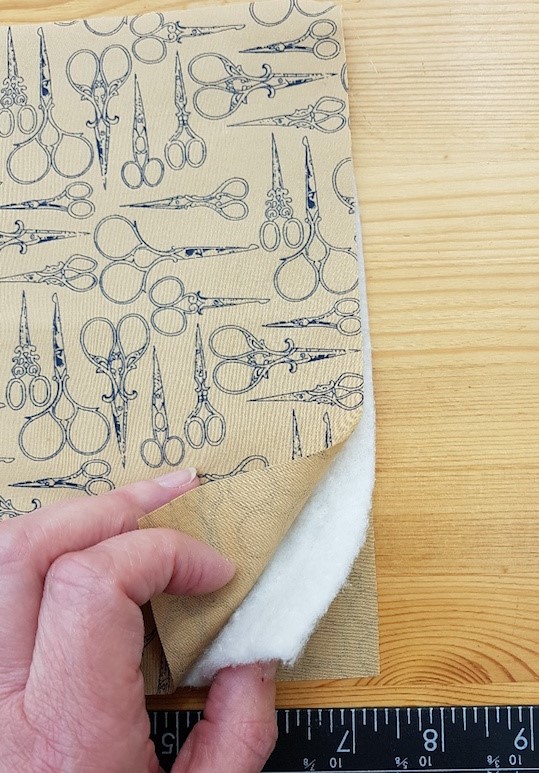
Cut the 2 pieces of cotton fabric that will be used to make the middle panel. Each piece is 6½” x 8”. In addition cut a piece of wadding, or, 3mm bag foam to the same size. |
|
|
|
The picture above shows my sandwich, ready for quilting. |
|
|
|
With no lines to sew along, with this pattern of fabric I start by marking a diagonal line with tailors chalk. I have aligned the 45 degree line on my quilting ruler along one edge of the material panel. |
|
|
|
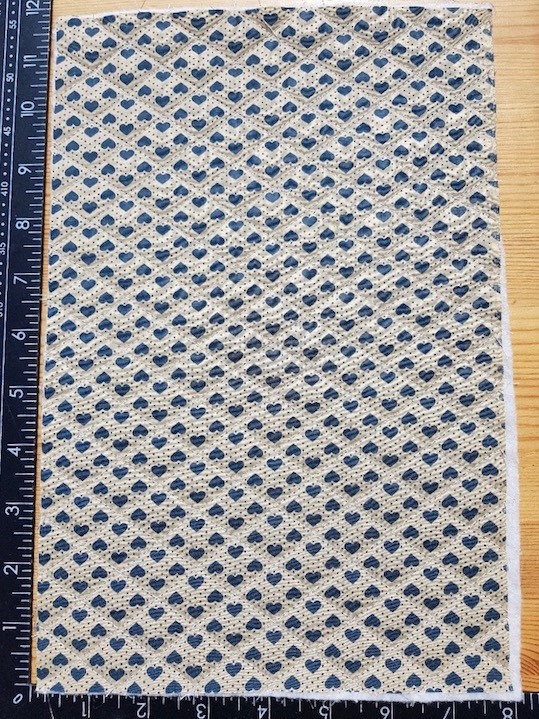
Having created a diagonal line I use this as a start point to cross hatch the rest of the material, with lines, prior to machining along them to quilt the panel. Note that you may be lucky and have a foot of a suitable width that you can use to space the lines equally, negating the need to mark them all out first. |
|
|
|
Above shows the quilting in one direction, using a ½” spacing between the lines. I now mark another line using tailors chalk and repeat the pattern in the opposite direction to give the cross hatched pattern. |
|
|
|
Above you can see the diagonal line that I will use as a start point for marking the diagonal lines in the opposite direction. |
|
|
|
Here is the middle panel after I have quilted using a ½” cross hatch pattern. |
|
|
|
Use the template (on page 27, yellow and red) for the middle panel, to cut out. |
|
|
|
The above picture shows the middle panel, with the ½” cross hatch quilting. |

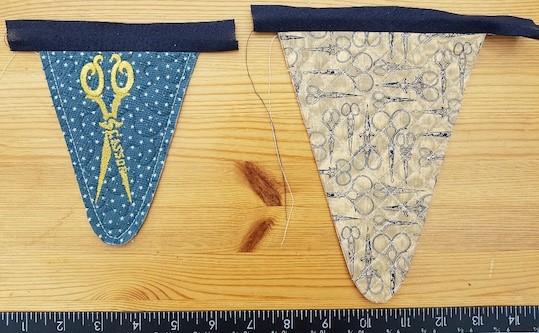
STEP 3 – Front Panel (the smallest)
|
|
|
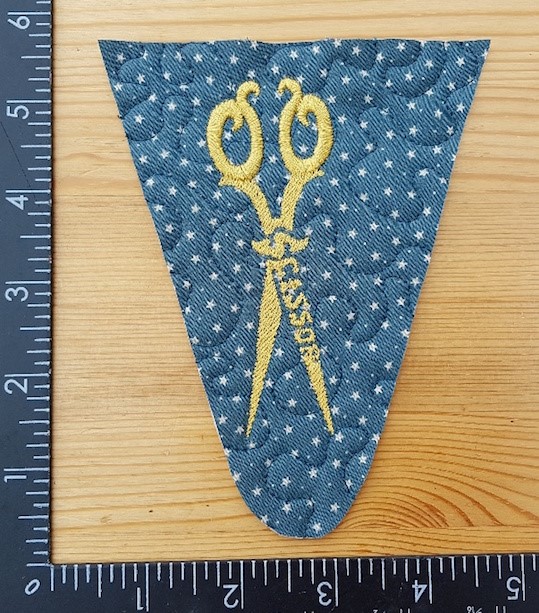
Cut the 2 pieces of cotton fabric that will be used to make the front panel. Each piece is 6” x 7”. In addition cut a piece of wadding, or, 3mm bag foam to the same size. Embellish the front panel with a suitable embroidery design, or, two. |
|
|
|
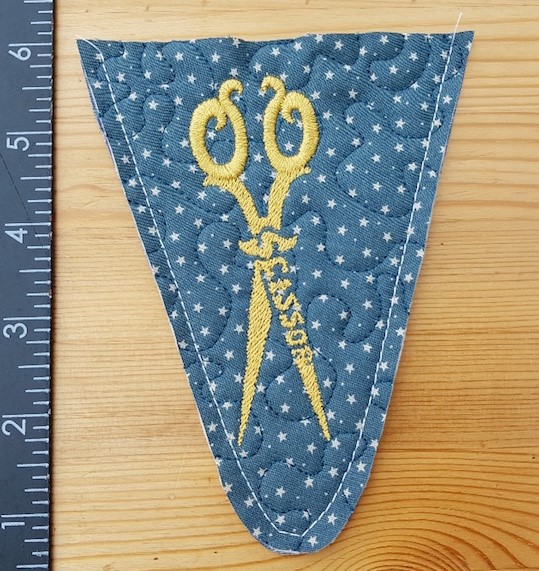
Above you can see the front panel after I have embellished using the designs detailed on page 2 and after I have cut it out using the smallest template on page 27 (just red). When adding the embellishment follow the KK instructions for the designs. You can either fully hoop the wadding and material or for this one I have just floated the wadding and front panel material. |
|
|
|
Once the design is complete attach the front and back, wrong sides together and secure in place with a ¼” seam. |
|
|
|
The above picture shows the quilted front panel, with the design in place. |
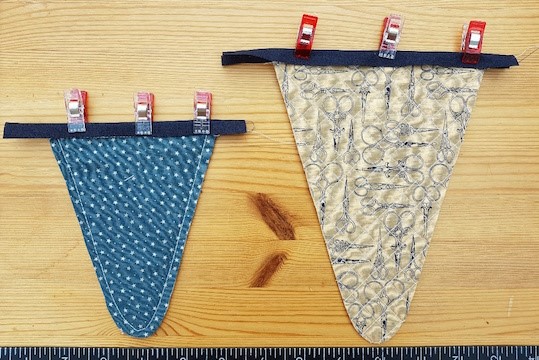
STEP 4 – Assembly
|
|
|
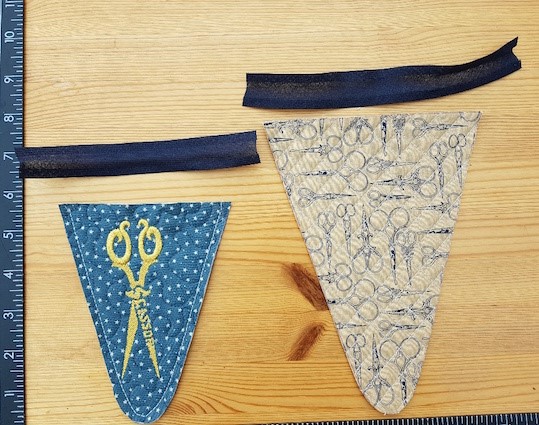
Cut bias binding for front and middle panels, with a little bit extra either side. |
|
|
|
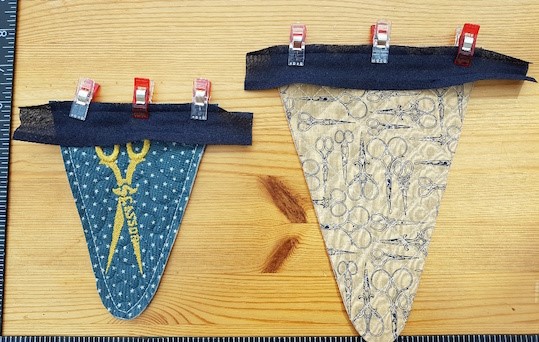
Pin, or, clip bias binding in place to the front of the panels, as shown above. |
|
|
|
Attach bias binding with a 3/8” seam, to the front and middle panels. |
|
|
|
Fold the bias binding to the back and secure with slip stitch by hand or you could run a machine top stitch to secure. I personally always slip stitch as this gives me a neater finish.Trim excess binding. |
|
|
|
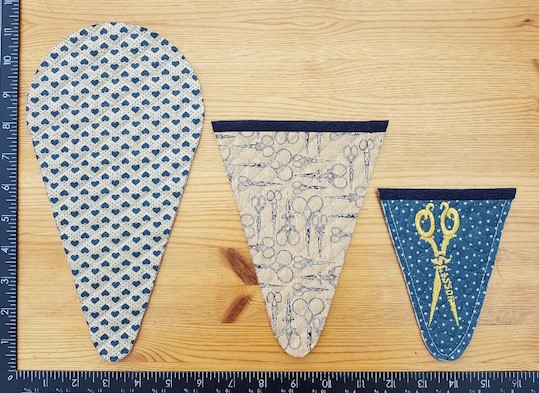
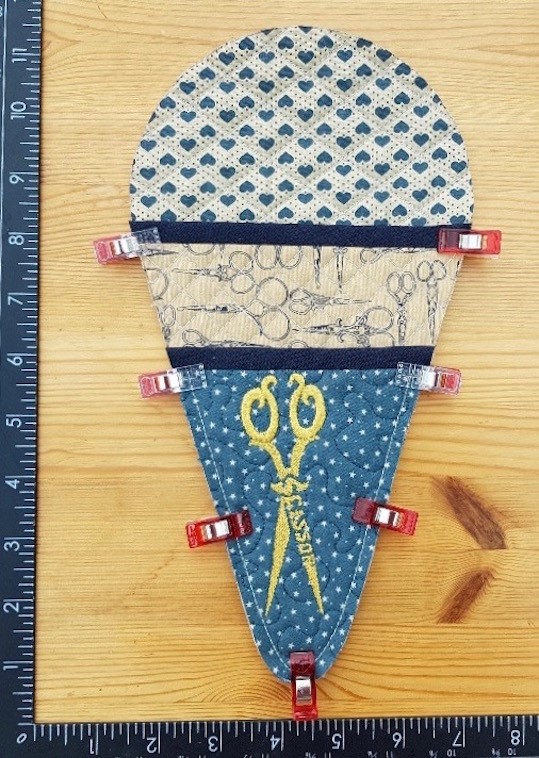
You should now have 3 panels, as shown above. |
|
|
|
Position and pin, or clip, in place as shown above. It's useful at this stage to tack the 3 panels together, around the edge, to secure them in place. This makes it easier when adding the bias binding later. |
|
|
|
Now attach the binding in place with a 3/8” seam, as shown above. This seam will secure both the binding and all the panels together. Be careful around the bottom as this can be quite tricky. |
|
|
|
Slip stitch the binding to the back, by hand, to complete your quilted scissor case. Hopefully, yours should now look similar in style to the one above. |

Variants
|
Front 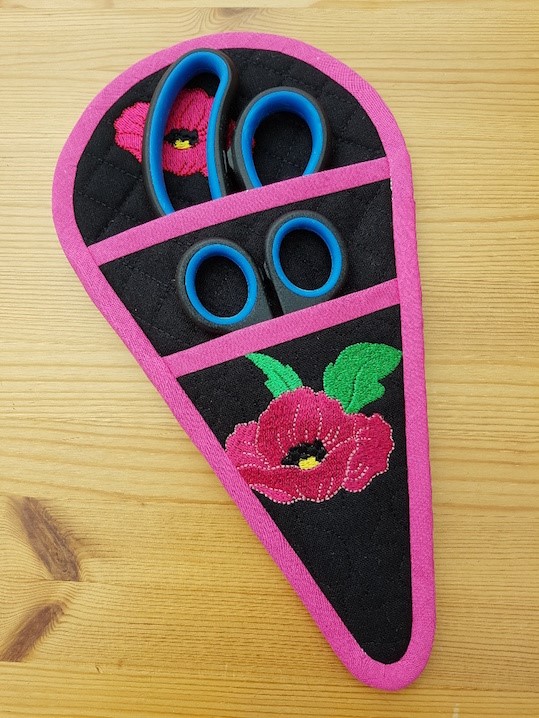 |
|
Back
|
|
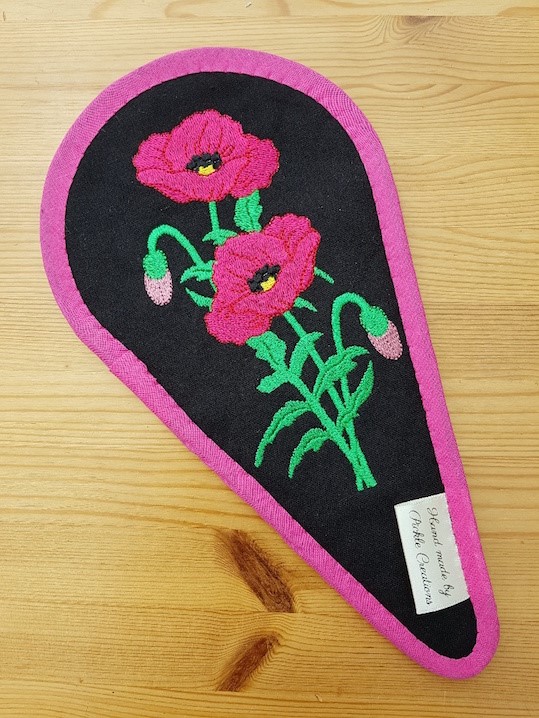
For this make I used the Kreative Kiwi Poppies” designs, with some bright binding to really make it pop (front and back): |
 |
|
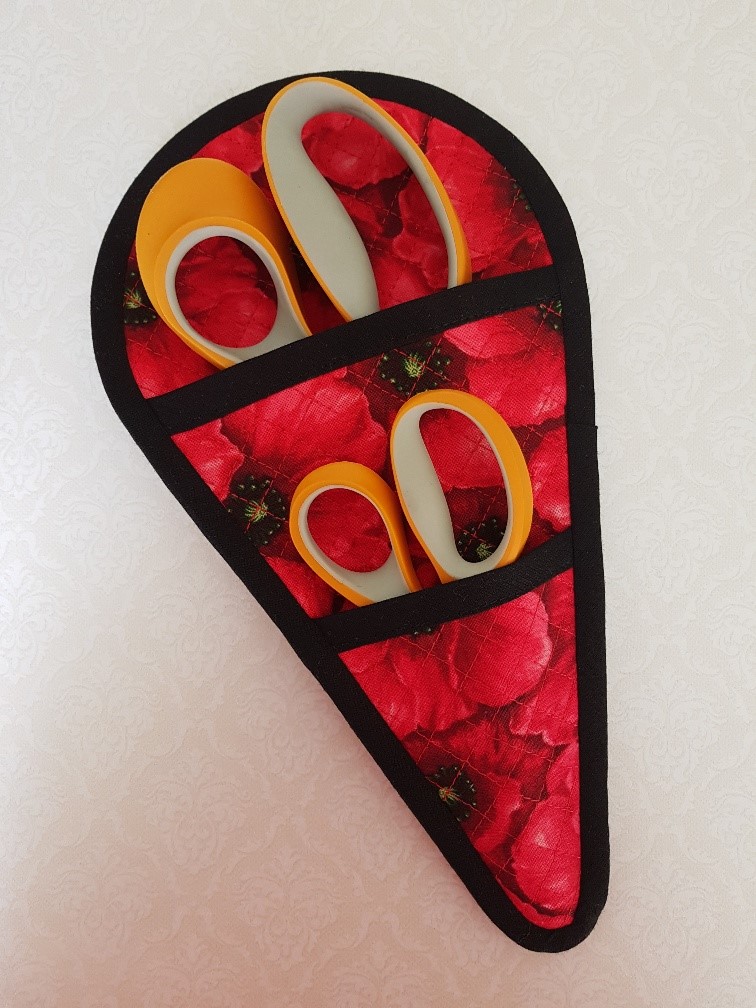
Above variant with no embellishment and ½” cross hatch on all panels. |
CONTACT DETAILS

| Top |